¥ 价格面议
¥ 价格面议
¥ 价格面议
¥ 价格面议
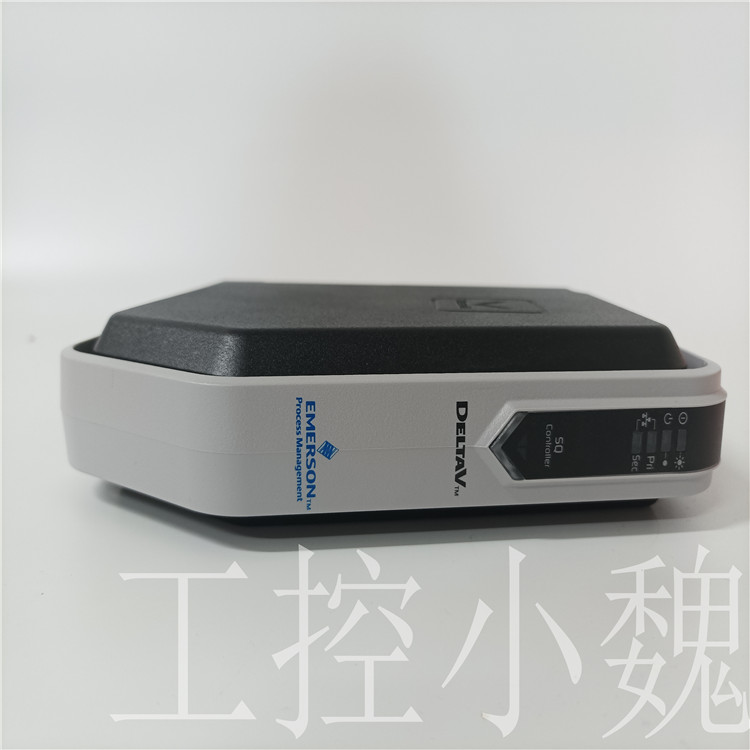
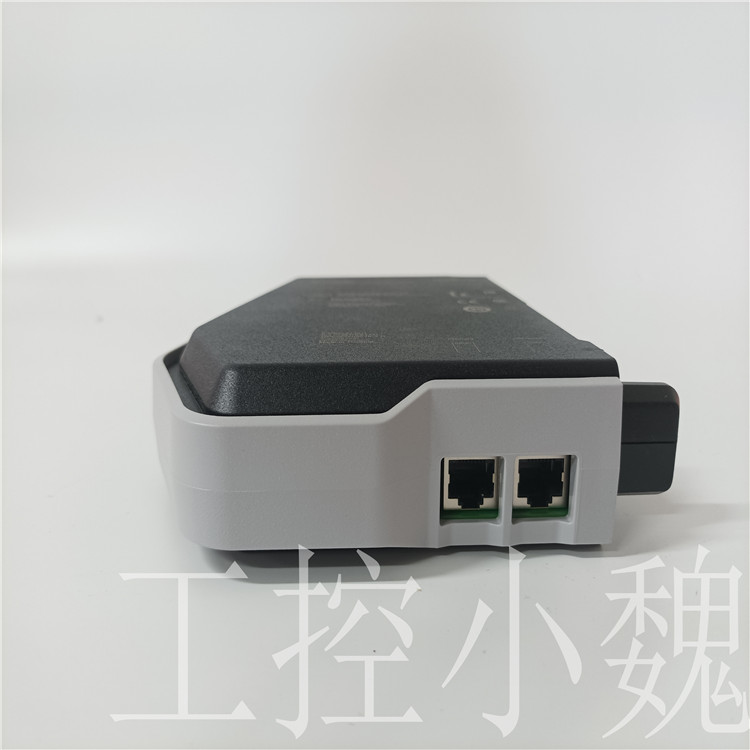
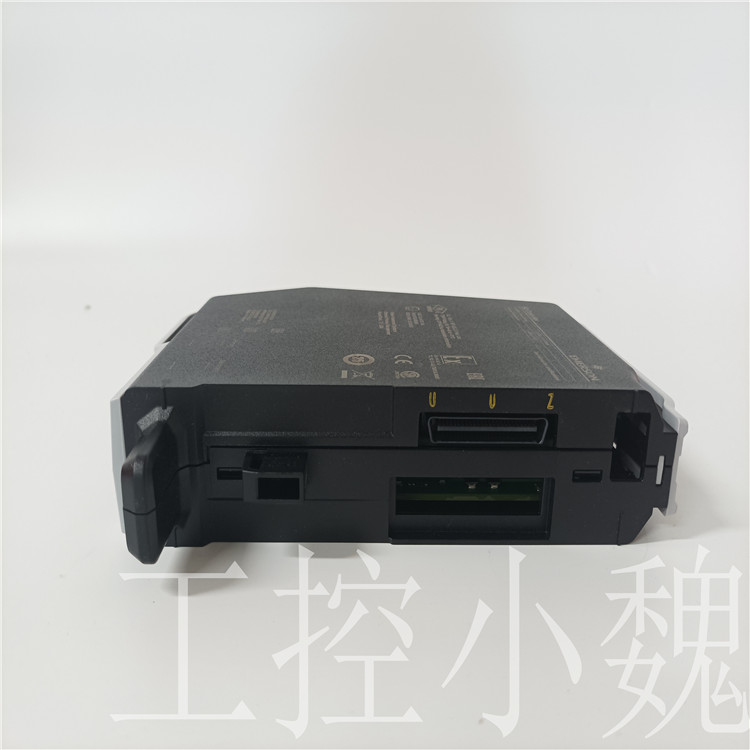
易卖工控网(www.ymgk.com)提供”5X00489G01控制器 EMERSON”,产品详情:品牌/厂家:EMERSON/艾默生、型号:5X00489G01、成色:全新、货期:现货 1天内发货、保修:180天,更多产品详情就上易卖工控网。
5X00489G01
(5)选择好后就对设备进行属性设置,以便与MCGS进行通信。(6)在通用串口属性设置”串口端子号为“COM1”数据校验方式为“偶校验”采集数据为“同步采集”。小采集周期设为200ms.【依据所接PLC型号进行设定】
(7)设置西门子PPI属性,在基本属性里添加4个i寄存器、14个Q寄存器、6个M寄,其中M2.0为上位机启动,M2.1为上位机停止。
(8)在图纸上先画出PLC程序,
 在设备窗口中添加一个“通用串口父设备”再添加一个“西门子_S7200PPI”。
(5)选择好后就对设备进行属性设置,以便与MCGS进行通信。
(6)在通用串口属性设置”串口端子号为“COM1”数据校验方式为“偶校验”采集数据为“同步采集”。小采集周期设为200ms.【依据所接PLC型号进行设定】
(7)设置西门子PPI属性,添加4个i寄存器、2个Q寄存器、3个M寄存器和4个VW寄存器。
(8)在图纸上先画出PLC程序,注意为了较为正确的控制组态,所以在程序设计过程中要进行数据转换。加入转移指令和整数除法指令,将计时器时间除以10放到寄存器中。还要添加“上位机启动”和“上位机停止”。
(9)在联机监控操作时,打开MCGS时需要关闭Step7软件,然后进行通连道接,直到显示为0是就表示连接成功了,便可进行监控测试。

E.关于要搬运的物块,当然自己要动手画出。用一个矩形和两个椭圆通过改变填充颜色和合成图符组成一个整体。
(3)在实时数据库里添加开关型数据分别为定时器启动、定时器复位、启动、复位、下移夹紧、上移、右移、放松和左移。左工件和右工件。
(4)再添加垂直移动量,水平移动量、计时时间和时间到等数据型数据。
(5)在各个图符里添加相关的属性,注意连接管子的两个矩形要合成图符因为要添加“水平移动量”属性。

(6)当相关属性在表达式里从实时策略里选完后,后还要给机械臂添加大小变化的属性,其计算方法为臂伸长后的总长度=臂的实际长度+伸长的量,如何进行长度测量,先画一条直线打开查看栏里的状态条,便会在右下角显示长度,
(7)至于属性框里表达式的值则要通过下降的时间除以200ms
(8)在循环策略里添加脚本程序和定时器。
任务四 机械手运行监控
在任务二中已经介绍过监控的实际运用的意义,所以在此任务中就不再详细介绍。

(1)删除定时器策略及脚本程序策略。【在联机时,PLC完成控制任务,所以组态工程中的定时器和脚本程序就无用了】修改数据库中与定时器相关的4个数据对象,分别为“定时器启动”“定时器复位”计时时间和时间到,以提高运行环境效率。然后在添加4个新的数据对象,分别为“运行时间显示”、“运行时间调整”、“暂停时间显示”和“暂停时间调整”,对象类型为数值型。
(2)在“机械手运行控制”窗口中删除与定时器相关的图符,
(3)制作如图的动画窗口。
(4)在设备窗口中添加一个“通用串口父设备”再添加一个“西门子_S7200PPI”。
(5)选择好后就对设备进行属性设置,以便与MCGS进行通信。
(6)在通用串口属性设置”串口端子号为“COM1”数据校验方式为“偶校验”采集数据为“同步采集”。小采集周期设为200ms.【依据所接PLC型号进行设定】

(7)设置西门子PPI属性,在基本属性里添加4个i寄存器、14个Q寄存器、6个M寄,其中M2.0为上位机启动,M2.1为上位机停止。
(8)在图纸上先画出PLC程序,注意为了较为正确的控制组态,所以在程序设计过程中要进行数据转换。加入转移指令和整数除法指令,将计时器时间除以10放到寄存器中。还要添加“上位机启动”和“上位机停止”。
(9)在联机监控操作时,打开MCGS时需要关闭Step7软件,然后进行通连道接,直到显示为0是就表示连接成功了,便可进行监控测试。
任务五 分炼机械手监控系统
由于本次任务是通过查看课本自己完成的,所以影响较深刻,“分炼机械手监控系统”较与“机械手运行系统”多了变频器【用来控制传送带】对称的机械手、储料塔、到位传感器,有货传感器、传送带、推料气缸。
(1)在用户窗口中的变频器是自己画出来的,为了显示变频器和传感器的状态所以在给指示灯添加完属性后将其与传感器和变频器进行合成单元。
(2)在实时数据里添加的数据有两个水平移动量,和两个垂直移动量要注意添加正确。
(3)对于定时器和动画的计时控制前几个任务已经介绍过,所以就不再多说,但时间要
篇二:实训心得体会First, we build a project and name it "Manipulator Operation Control", then create a new window in the user window and name it "Manipulator Control"
(2) Create the required icon in the user window,
A. Create 4 buttons named Start, Reset, Timer Start and Timer Reset.
B. Then create two text boxes named Time, Time to, and Time to, and four rectangular boxes with labels.
C. The base of the manipulator is established with a rectangular frame, the cross arm and vertical arm of the manipulator are established with pipes, and the gripper is established with three rectangles.
D. Add 6 identical step indicators and 2 start and reset indicators. The six steps are to move down, tighten up, move up, move left, move right, and relax.
E. Of course, you should draw the pieces to be moved by yourself. Use a rectangle and two ellipses to form a whole by changing the fill color and compositing the glyphs.
(3) The switch type data added to the real-time database are timer start, timer reset, start, reset, move down clamp, move up, move right, relax and move left. Left workpiece and right workpiece.
(4) Add data such as vertical movement, horizontal movement, timing time and time to.
(5) Add relevant attributes to each icon. Note that the two rectangles connecting pipes should be combined into icons because the attribute of "horizontal movement amount" should be added.
(6) After the relevant attributes are selected from the real-time strategy in the expression, the size change attribute must be added to the mechanical arm finally. The calculation method is that the total length of the arm after extension=the actual length of the arm+the amount of extension. How to measure the length, first draw a straight line to open the status bar in the viewing column, and then the length will be displayed in the lower right corner,
(7) The value of the expression in the property box is divided by the falling time by 200ms
(8) Add scripts and timers to the loop strategy.
Task 4 Manipulator operation monitoring
The practical significance of monitoring has been introduced in Task 2, so we will not introduce it in detail in this task.
(1) Delete timer policy and script policy. [When online, the PLC completes the control task, so the timer and script program in the configuration project are useless] Modify the four data objects related to the timer in the database, namely "timer start" and "timer reset" timing time and time to improve the operating environment efficiency. Then add 4 new data objects, namely "Running Time Display", "Running Time Adjustment", "Pause Time Display" and "Pause Time Adjustment". The object type is numerical.
(2) Delete the icon related to the timer in the "Manipulator operation control" window,
(3) Make the animation window as shown in the figure.
(4) Add a "Universal Serial Port Parent Device" and a "SIEMEN_S7200PPI" in the device window.
(5) After selection, set the attributes of the device to communicate with MCGS.
(6) In the general serial port attribute setting, the serial port terminal number is "COM1". The data verification method is "even verification". The collected data is "synchronous collection". The minimum acquisition cycle is set as 200ms. [Set according to the connected PLC model]
(7) Set the Siemens PPI attribute, add 4 i registers, 14 Q registers and 6 M registers to the basic attribute, where M2.0 is the upper computer start and M2.1 is the upper computer stop.
(8) Draw the PLC program on the drawing first. Note that in order to have a more correct control configuration, data conversion is required in the process of program design. Add the branch instruction and integer division instruction, divide the timer time by 10 and put it into the register. Also add "upper computer start" and "upper computer stop".
(9) During the online monitoring operation, when MCGS is opened, the Step7 software needs to be closed, and then the connection is made. If the display is 0, the connection is successful, and the monitoring test can be carried out.
Task Five Refining Manipulator Monitoring System
Because this task was completed by checking the textbook, it has a profound impact. The "separate refining manipulator monitoring system" has more manipulator, storage tower, in place sensor, cargo sensor, conveyor belt, and pushing cylinder symmetrical with the frequency converter [used to control the conveyor belt] than the "manipulator operation system".
(1) The frequency converter in the user window is drawn by itself. In order to display the status of the frequency converter and sensor, the indicator light is combined with the sensor and frequency converter after adding attributes.
(2) The data added to the real-time data has two horizontal movements and two vertical movements.
(3) The previous tasks of timer and animation timing control have been introduced, so I will not say more, but the time
Part II: Experience from Practical Training